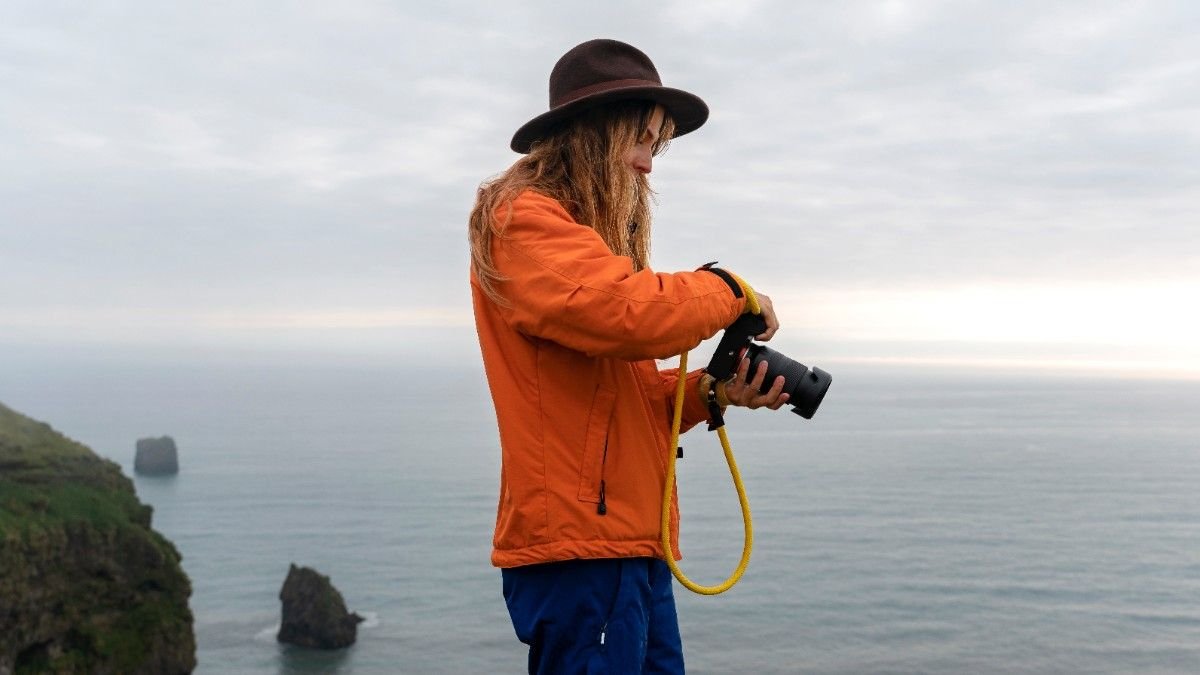
So there I was, standing at the edge of a cliff, the wind whipping through my hair, and the sun beginning to dip below the horizon. I was in awe of the view but my camera was not cooperating. It was a blurry mess, and all I wanted was to capture that magical moment. After a bit of frustration, I realized: my best travel photography tips were about to be learned the hard way.
Since then, I’ve snapped countless stunning photos and learned a thing or two (or twenty) about how to truly capture the essence of a destination. If you’re ready to get your camera or phone out and start documenting your adventures like a pro, I’ve got you covered with some travel photography tips that will help you turn ordinary moments into extraordinary memories. These tips will ensure you never miss a shot!
How Do I Capture Stunning Travel Photos with My Camera?
When it comes to travel photography, there’s more to it than just pointing and clicking. The best photos require a bit of thought and understanding of your gear. Don’t worry if you’re not a pro; even a simple camera or your smartphone can take incredible photos with the right approach.
First, Know Your Gear
Whether you’re using a DSLR, mirrorless camera, or just your phone, get to know the settings. Start with the basics—focus on shutter speed, aperture, and ISO. If you’re using your phone, experiment with manual mode or third-party apps to control focus and exposure.
Composition Is Key
The rule of thirds is your best friend. Imagine breaking your photo into nine equal parts with two horizontal and two vertical lines. Place the key elements along those lines or at their intersections.
This will make your photo more dynamic and visually pleasing. Also, don’t be afraid to experiment with angles. A shot from above or below can turn an ordinary scene into something extraordinary.
What Are the Best Camera Settings: Travel Photography Tips
Okay, you’ve got the basics down, but what about the settings? Here’s how you can fine-tune your camera to make sure you’re ready for anything:
Adjust for the Lighting
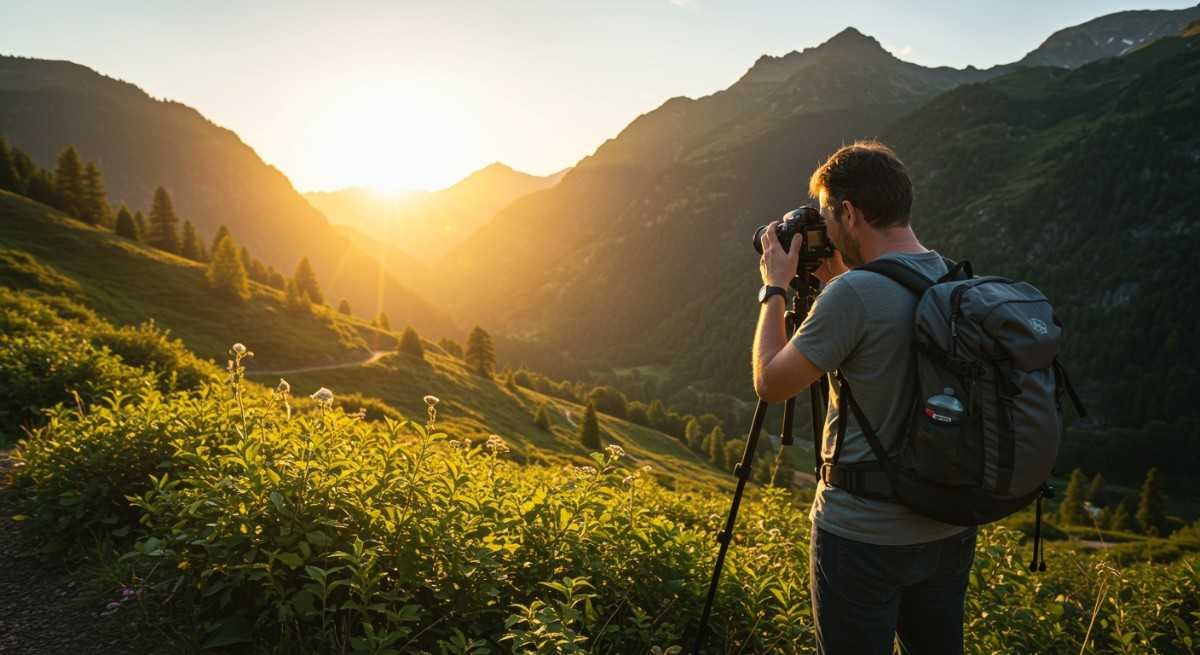
Lighting can make or break a photo. If you’re shooting during golden hour (that sweet spot right before sunset or after sunrise), turn down the ISO to keep things sharp. If you’re in a low-light situation, you might need a slower shutter speed to let more light in, but be careful of blurry photos unless you’re using a tripod.
Experiment with Depth of Field
For portrait-style shots, use a wide aperture (low f-number, like f/2.8) to blur the background and really make your subject pop. For landscapes, use a narrow aperture (high f-number, like f/16) to keep everything from the foreground to the background in focus.
How Do I Get the Perfect Landscape Shots?
One of the most common travel photos is a sweeping landscape. But how do you make sure you get the best shot?
Get Low, Get High, Get Creative
Don’t just shoot from eye level. A good landscape photo might be taken from an unexpected angle. Like crouching low to the ground to capture the foreground or climbing to a higher viewpoint for a broader perspective
Don’t be afraid to get creative with composition. You should try framing the shot with elements like trees or doorways to add depth.
Use a Tripod (Trust Me)
If you’re serious about landscape shots, a tripod is your best friend. It keeps your camera steady, especially in low light or when you’re shooting long exposures. Plus, it helps you get that tack-sharp focus you want, especially when photographing nature scenes with lots of detail.
Editing Photos Like A Pro: Travel Photography Tips
Once you’ve captured your shots, it’s time to edit. Editing is where you can really bring your photos to life and enhance those vibrant travel moments. Here are a few quick editing tips:
Boost the Brightness and Contrast
Start with adjusting the brightness and contrast to make your photos pop. You don’t want them too flat or too dark. Aim for vibrant but natural tones.
Don’t Overdo Filters
While filters can be fun, they can also make your photos look unnatural if overdone. Keep it simple with subtle adjustments to saturation and warmth to enhance the colors without losing authenticity.
Sharpen and Crop
Sometimes, a quick crop can improve your composition, so don’t be afraid to trim away any unnecessary elements. Also, sharpening the image a bit can help bring out details that may have been lost in the process.
Frequently Asked Questions
1. What’s the best camera for travel photography?
When it comes to the best camera for travel, it really depends on your needs. If you want something compact, a high-quality smartphone or a mirrorless camera is your best bet. However, if you’re looking for versatility and superior image quality, a DSLR is the way to go. The Canon EOS R or Sony A7 series are popular choices.
2. How can I capture candid travel moments without being intrusive?
The key to candid photography is blending in. Use a smaller camera or your phone for a more discreet presence. Stay patient and wait for natural moments to unfold. If people notice you, keep it respectful—ask for permission if needed!
3. Should I shoot in RAW or JPEG?
If you’re planning to edit your photos later, always shoot in RAW. RAW files capture much more detail and give you greater control over your edits. However, if you want faster processing and smaller file sizes, JPEG works fine for casual shots.
4. How do I avoid blurry photos when traveling?
Blurry photos are often the result of a slow shutter speed or camera shake. Make sure your shutter speed is fast enough for the conditions—at least 1/500 for moving subjects. Use a tripod for long exposures, and keep your hand steady when shooting handheld.
Travel Photography Is All About Enjoying the Moment
Whether you’re capturing the bright streets of Tokyo or a mountain sunrise, travel photography is about telling your story. It’s not just about the gear—it’s about the experience and the memories.
And speaking of memories, smart travel packing tips are equally important. Pack light but efficiently with versatile gear like a zoom lens, extra memory cards, and a portable charger. A well-packed bag can make all the difference, ensuring you’re ready for those perfect shots without the stress of carrying too much!