Planning your dream European getaway? Before you start packing your bags and Googling “best places to eat in Paris,” there’s an important question you need to answer: Do I need a visa to travel to Europe? Trust me, I’ve been there before—excited about the trip but stressing over paperwork. So let’s get you sorted with the essential info on visa requirements for U.S. travelers in 2026 and beyond.
I’ll break down the visa rules for both short-term and long-term stays in Europe. Whether you’re just passing through for a few days or settling in for a longer adventure, I’ve got you covered. I’ll also walk you through the new ETIAS and EES systems and show you exactly how to prepare for your trip to avoid any travel hiccups.
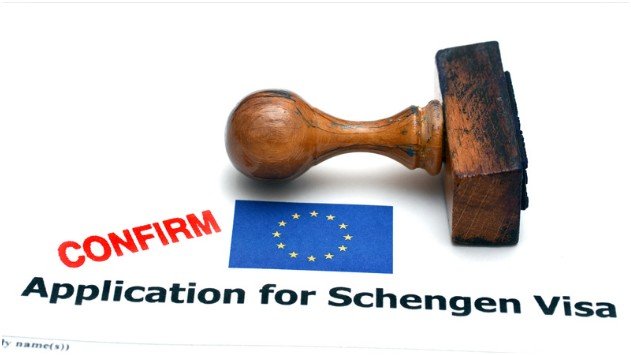
1. Short Stays (Under 90 Days)
If you’re planning to spend less than 90 days in Europe for tourism, business, or family visits, U.S. citizens are in luck—you don’t need a visa for short-term stays in most Schengen Area countries. The Schengen Area is a group of 26 European countries that allow free movement between them, and they share common visa policies.

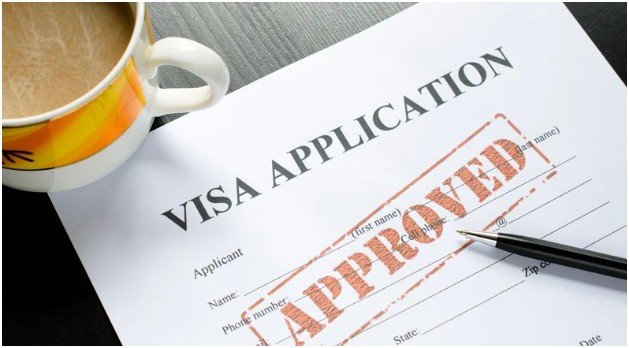
New ETIAS Requirement (Late 2026)
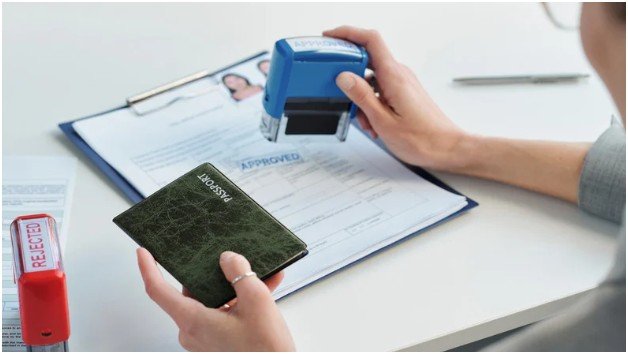
Starting in late 2026, U.S. citizens (along with other visa-exempt travelers) will need to apply for an ETIAS (European Travel Information and Authorization System) before their trip. Think of it as an entry permit for travel to the Schengen Area. Here’s what you need to know:
- Cost: €20 (approximately $22) for adults; free for travelers under 18 or over 70.
- Validity: ETIAS will be valid for 3 years or until your passport expires—whichever comes first.
- Application Process: The application is simple and done online, with most approvals happening in minutes.
The introduction of ETIAS won’t be as complicated as a full visa application, but it’s still a necessary step to ensure smooth travels across Europe.
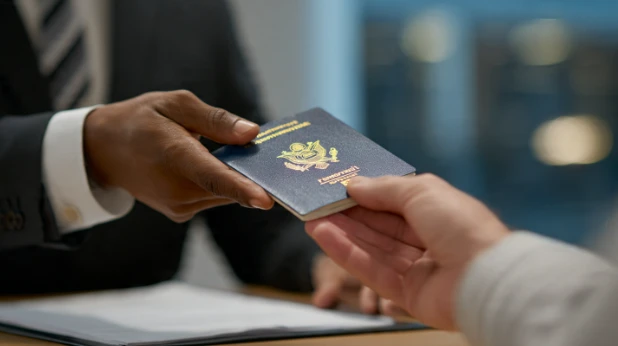
Visiting the United Kingdom
If your travels include a stop in the UK, U.S. citizens will need to apply for an Electronic Travel Authorization (ETA) to enter the country. This is separate from the ETIAS system used in the Schengen Area.
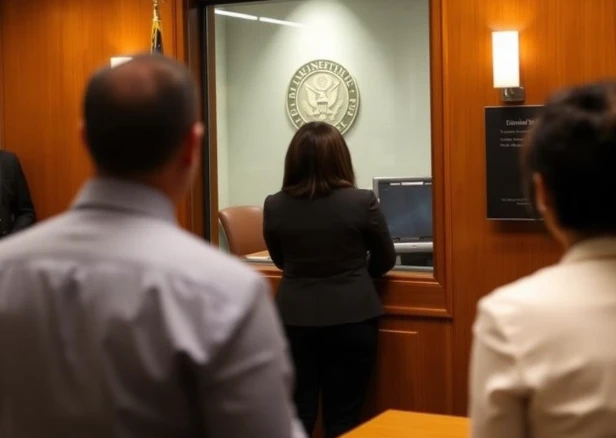
2. Long Stays (Over 90 Days)
If you’re planning to stay in Europe for more than 90 days within a 180-day period, or if you intend to study, work, or reside in a European country, you’ll need a national visa specific to the country where you’ll spend most of your time. The Schengen Area allows only 90 days of stay within a 180-day period, so if you exceed that, you’ll need to apply for a Schengen visa.

Here’s a breakdown of what you’ll need for long stays:
- Study or Work Visas: Each country in Europe has its own process for applying for a student or work visa. Make sure to check the specific requirements with the embassy or consulate of the country you plan to stay in.
- Required Documents: For long stays, you’ll need to show proof of accommodation, financial stability (such as bank statements), and other documentation like your university enrollment or work contract.
Check the U.S. Department of State website for detailed instructions and application processes for long-term visas.
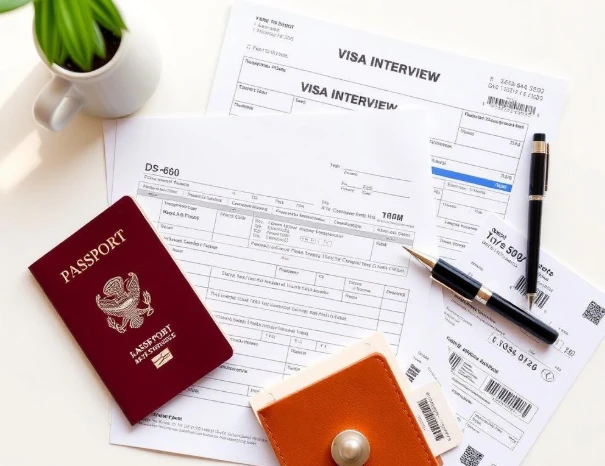
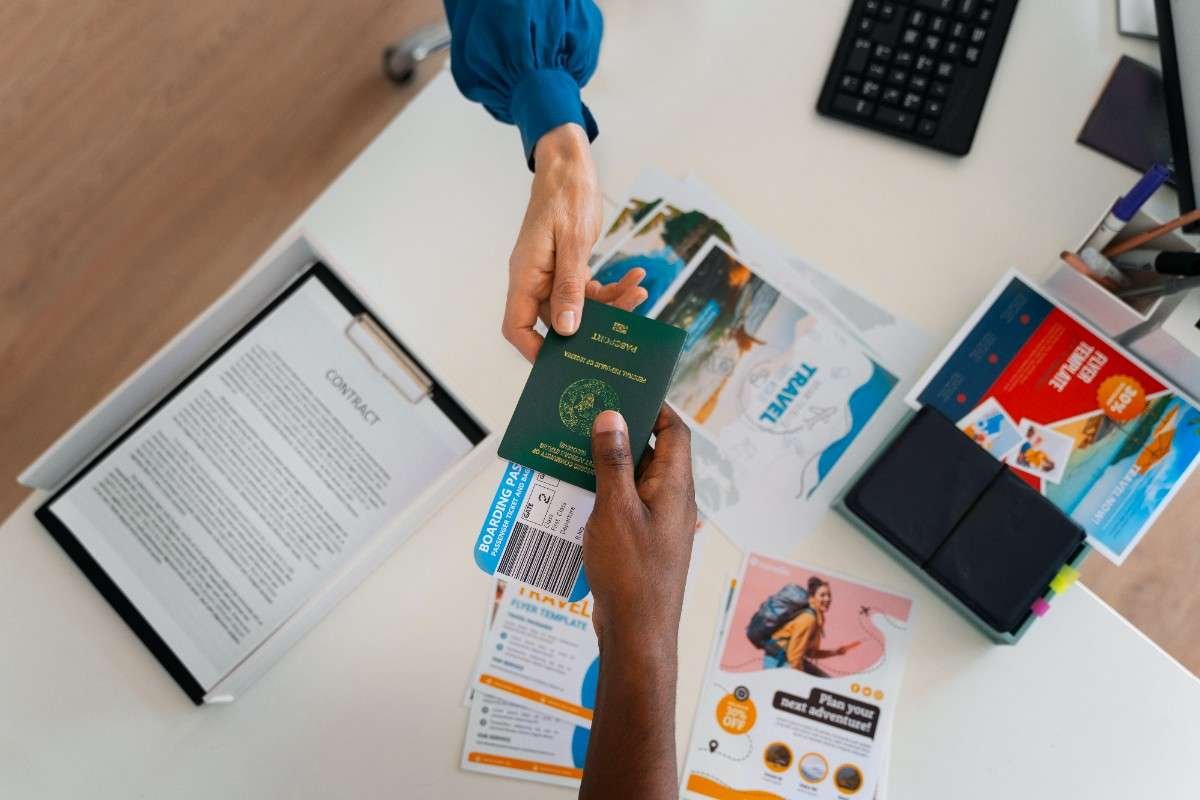
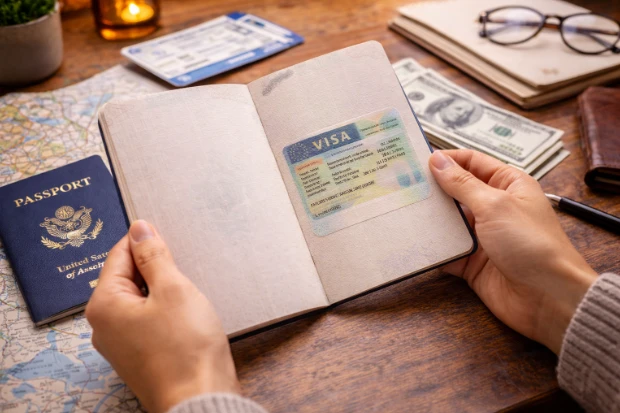
3. Essential Travel Documents
There are some essential travel documents for a Schengen Visa regardless of whether you need a visa for the Schengen Area and other European countries. Make sure you have everything in order to avoid any surprises at the airport.

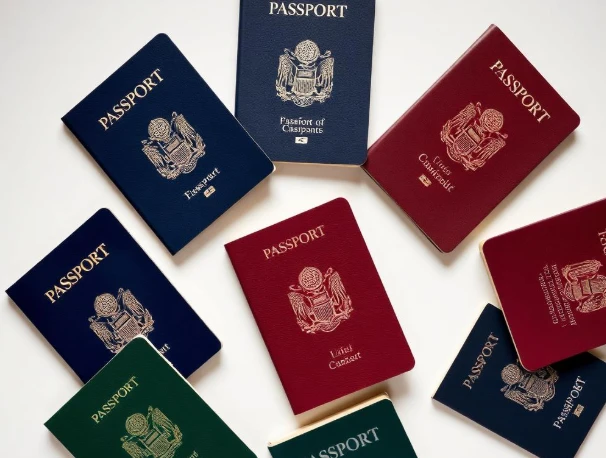
Valid Passport
Your passport must be valid for at least 3 to 6 months beyond your planned departure date from the Schengen Area. It’s essential to double-check your passport’s expiration date well before your trip to avoid any issues.
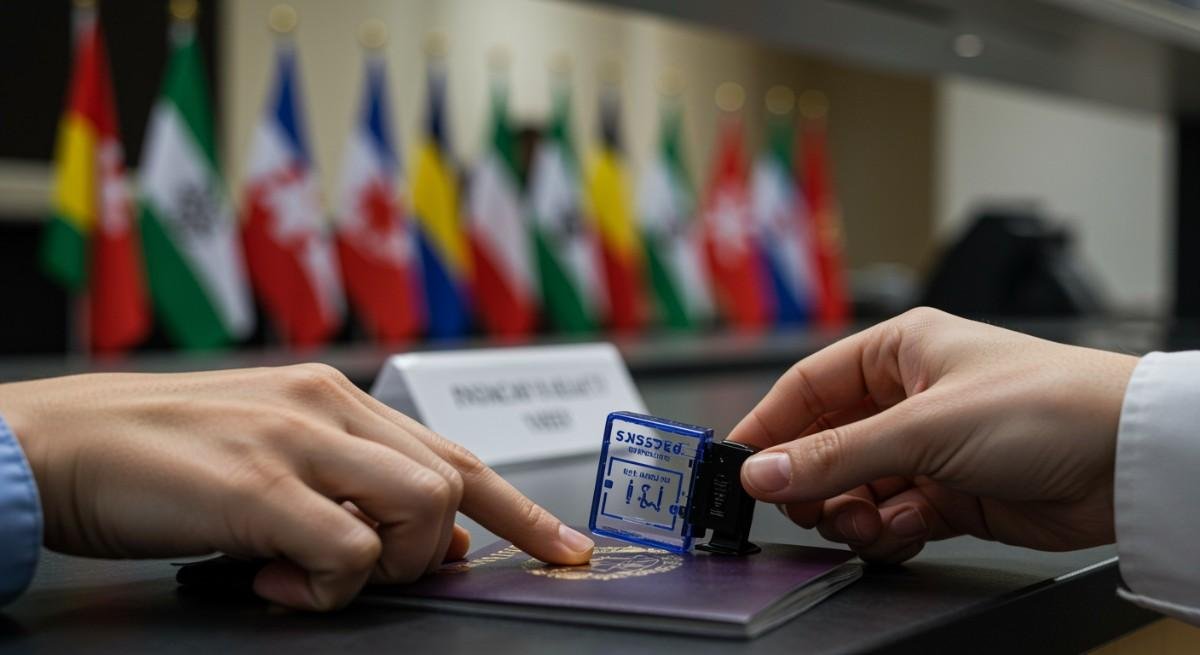
Entry/Exit System (EES)
Starting now, travelers entering 29 European countries will have their fingerprints and facial images recorded through the Entry/Exit System (EES). This new system is part of Europe’s efforts to improve border security and track travelers more effectively. But don’t worry, this process will be quick and easy. You’ll just have to scan your biometrics at the border.
Proof of Funds and Return Travel
Border officials may ask you to provide proof of sufficient funds for your stay, such as bank statements or an invitation letter. Additionally, you may need to show a return or onward flight ticket to prove that you’ll be leaving Europe at the end of your visit.
Frequently Asked Questions
1. Do I Need a Visa to Travel to Europe as a U.S Citizen?
If you’re a U.S. citizen visiting Europe for 90 days or less for tourism, business, or family visits, you don’t need a visa for most countries in the Schengen Area. Starting in late 2026, you’ll need to apply for an ETIAS authorization before traveling. However, if you’re planning to stay longer or study, work, or reside in a European country, you’ll need to apply for a national visa.
2. What Is ETIAS and How Does It Affect the U.S. Travelers?
ETIAS (European Travel Information and Authorization System) is a new entry requirement for U.S. citizens and other visa-exempt travelers. Starting in 2026, travelers to the Schengen Area will need to apply for ETIAS online. The process is straightforward, with approval typically granted within minutes. The authorization is valid for three years or until your passport expires.
3. Can I Travel to the UK Without a Visa?
As of now, U.S. citizens will need to apply for an Electronic Travel Authorization (ETA) to visit the United Kingdom. This is a separate system from the ETIAS for the Schengen Area countries.
Ready to Pack?
There, I have answered your question: Do I Need a Visa to Travel to Europe? It’s time to start planning your dream European adventure! Whether you’re heading to Paris for a weekend or spending several months soaking up the culture in Italy, knowing the visa and travel requirements is the first step toward a smooth and stress-free trip.
Pro Tip: Double-check your passport’s expiration date before you book your flights. There’s nothing worse than realizing you can’t travel because your passport is expiring soon. And don’t forget to apply for ETIAS (if needed) to ensure you’re all set for Europe’s new travel rules.
Happy travels, and may your European adventure be filled with amazing memories!